From Vector to Thread: A Designer's Review of Healthcare Vector Illustrations
Let's talk about these 10 Healthcare Vector Illustrations not as a digital product, but as a potential embroidery design. As someone who constantly translates graphics from screen to stitch, my first question for any new asset is: how will this look in thread?
The Clean, Modern Mood of Healthcare Graphics
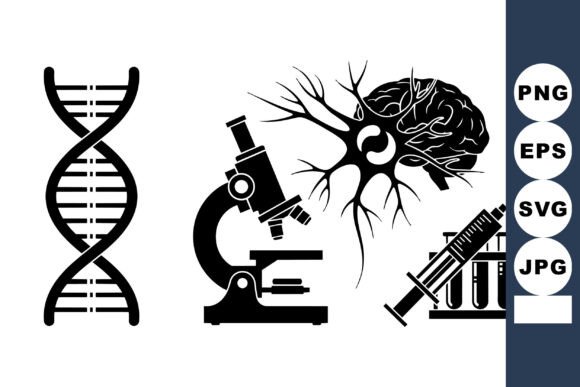
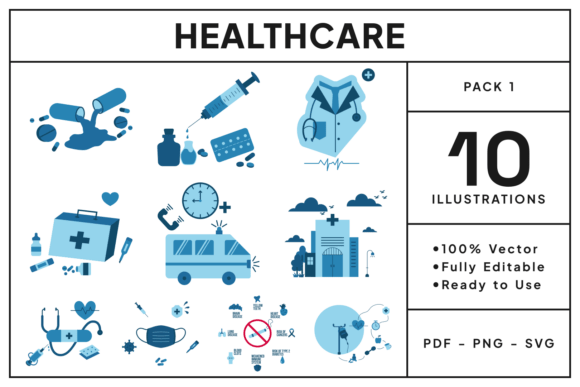
Right away, this collection strikes me with its clarity and contemporary sensibility. The vector illustrations carry a mood of professionalism and care—clean lines, recognizable icons, and a visual personality that feels both trustworthy and approachable. This isn't about ornate, detailed medical diagrams; it's about accessible, symbolic imagery. For an embroidery project, that translates into designs that rely on strong, recognizable shapes rather than microscopic detail.
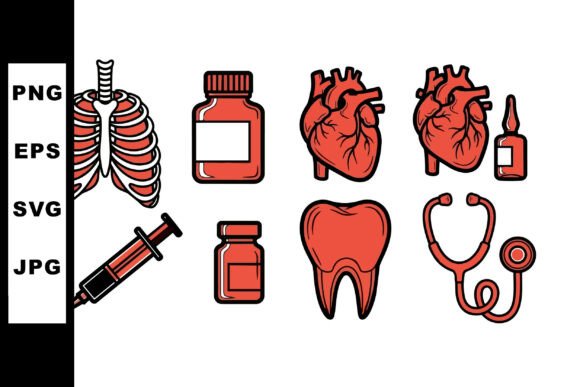
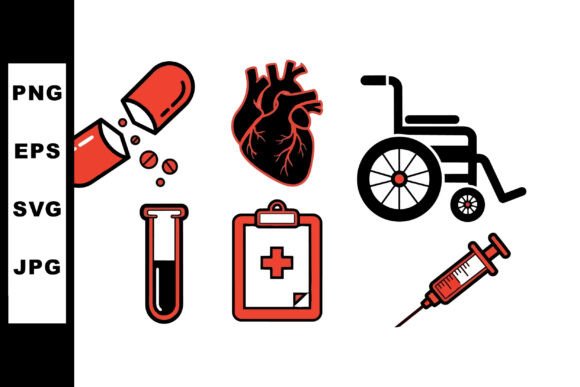
Imagine you're preparing a custom embroidered tote bag for a nurse or a clinic volunteer. The simplicity of these vectors is a gift. The shapes—like a heart, a pill bottle, or a stethoscope—are inherently stitch-friendly. They have defined borders and solid interior spaces, which in embroidery terms, are perfect candidates for satin stitch borders and clean fill stitch areas. They won't get lost or become muddy on fabric.
Where These Designs Naturally Belong in the Real World
I'm picturing these graphics transitioning from digital to physical across a whole range of handmade products. Their professional yet friendly aesthetic makes them incredibly versatile.
For Custom Apparel & Gifts: A sweatshirt or t-shirt for a medical student with a discreet, well-executed medical icon feels personal and celebratory. A baby blanket or pillow cover for a newborn in a healthcare family, embroidered with a gentle heart or cross icon, becomes a meaningful heirloom. The clean design ensures the embroidery looks intentional and high-quality, not like a cluttered clipart.
For Small Business Merchandise: If you're an Etsy seller or run a small boutique, these vectors could anchor a whole product line. Embroidered patches with these icons are perfect for backpacks or jackets. Think aprons for home health aides, caps for clinic staff, or tea towels for a doctor's kitchen. The professionalism of the design lends credibility to your finished product, boosting customer trust in your craftsmanship.
For Commercial & Branding Projects: For an apparel decorator creating uniforms or promotional items for a pharmacy or wellness center, these illustrations offer a cohesive set of assets. Their suitability for digital and print, as mentioned in the description, hints at a design language meant for consistency. That's a huge plus. An embroidered logo or icon on a work uniform needs to be clear and reproduce reliably across items.
The Practical Considerations: Fabric, Size, and Stitching
This is where we move from "looks good" to "works well." Here’s my practical judgment on applying these vector illustrations in real embroidery situations.
A Note on Scale and Detail
The inherent simplicity is a major advantage, but attention to scale is crucial. While the vectors likely look crisp on screen, in embroidery, very small versions could pose challenges. Tiny, intricate corners or extremely thin lines might not translate well at a small hoop size. I would strongly advise testing the design on scrap fabric first, especially if you plan to embroider it on something like a curved cap surface or a baby item with textured fabric.
For dark fabrics, you’ll need to think about thread color contrast. A white or light fill stitch area on a black sweatshirt will pop beautifully, but you must ensure the stitch density is sufficient to look solid and not sparse. Always compare the design in a black and white mockup to judge its form independently of color.
Fabrics and Final Use
Stretchy fabrics or thin materials like certain t-shirts require careful stabilizer choice and potentially adjusting the design's stitch density to prevent puckering. For products destined for frequent washing, like kitchen towels or everyday apparel, these clean, solid shapes are actually a good bet—they’re less likely to have delicate details that can fray or snag over time compared to ultra-fine, complex designs.
The real beauty here is that these illustrations likely don’t have overly dense stitch areas. They appear built from larger shapes, which means they'll embroider relatively quickly and cleanly, saving you thread and machine time—a practical win for any craft business.
How This Collection Elevates Your Finished Product
Using a well-conceived design like this affects more than just the stitch quality. It impacts the entire perception of your work.
Visual Appeal & Clarity: A crisp, modern icon embroidered onto a tote bag or sweatshirt looks deliberate and stylish. It moves beyond a generic "medical" theme into a specific, crafted statement. This clarity engages buyers—they recognize the symbol instantly and appreciate the clean execution.
Giftability & Professionalism: A personalized gift embroidered with one of these icons feels thoughtful because the design itself is tasteful. For a holiday gift for a healthcare worker or a wedding present for a new doctor, the professionalism of the design elevates the item from a simple craft to a cherished, respectable keepsake.
Brand Consistency for Entrepreneurs: If you're building a craft business around wellness or celebration themes, having a coherent set of ten related graphics is a solid foundation. You can create a line of products—embroidered patches, printable mockups for digital products, actual hoop projects—that all speak the same visual language, building a stronger, more recognizable brand.
Essential Designer Notes Before You Stitch
My final thoughts come from the trenches of real embroidery design work. Before you run this machine embroidery file, here’s your checklist.
- Always test on scrap fabric. Use a similar fabric and weight to your final project. Check how the small details, if any, render.
- Confirm your hoop size. Ensure the design dimensions fit your intended hoop. Don’t assume.
- Review stitch density in your software. While the vectors look simple, your embroidery machine software will interpret them. Check that fill areas aren’t overly dense for your chosen fabric.
- Plan your thread colors. Think about contrast against your final fabric background—light on dark, dark on light.
- Clarify licensing for commercial use. The product description mentions support for a wide range of projects. This is promising, but you must confirm the specific license terms before selling finished embroidered items or derived digital embroidery files. This is non-negotiable for professional crafters and Etsy sellers.
- Consider it for an applique design. Some of these bold shapes might be fantastic as applique, where you use fabric pieces for the fills, adding another texture to your handmade product.
In essence, these 10 Healthcare Vector Illustrations present a strong, practical foundation for a multitude of embroidery projects. Their clean, vector-based construction is a direct path to clean, impressive stitching. They carry a mood that suits both heartfelt gifts and professional merchandise. By approaching them with the practical eyes of an embroiderer—testing, planning, and respecting the transition from pixel to thread—you can turn this digital graphics collection into tangible, thread-based success.